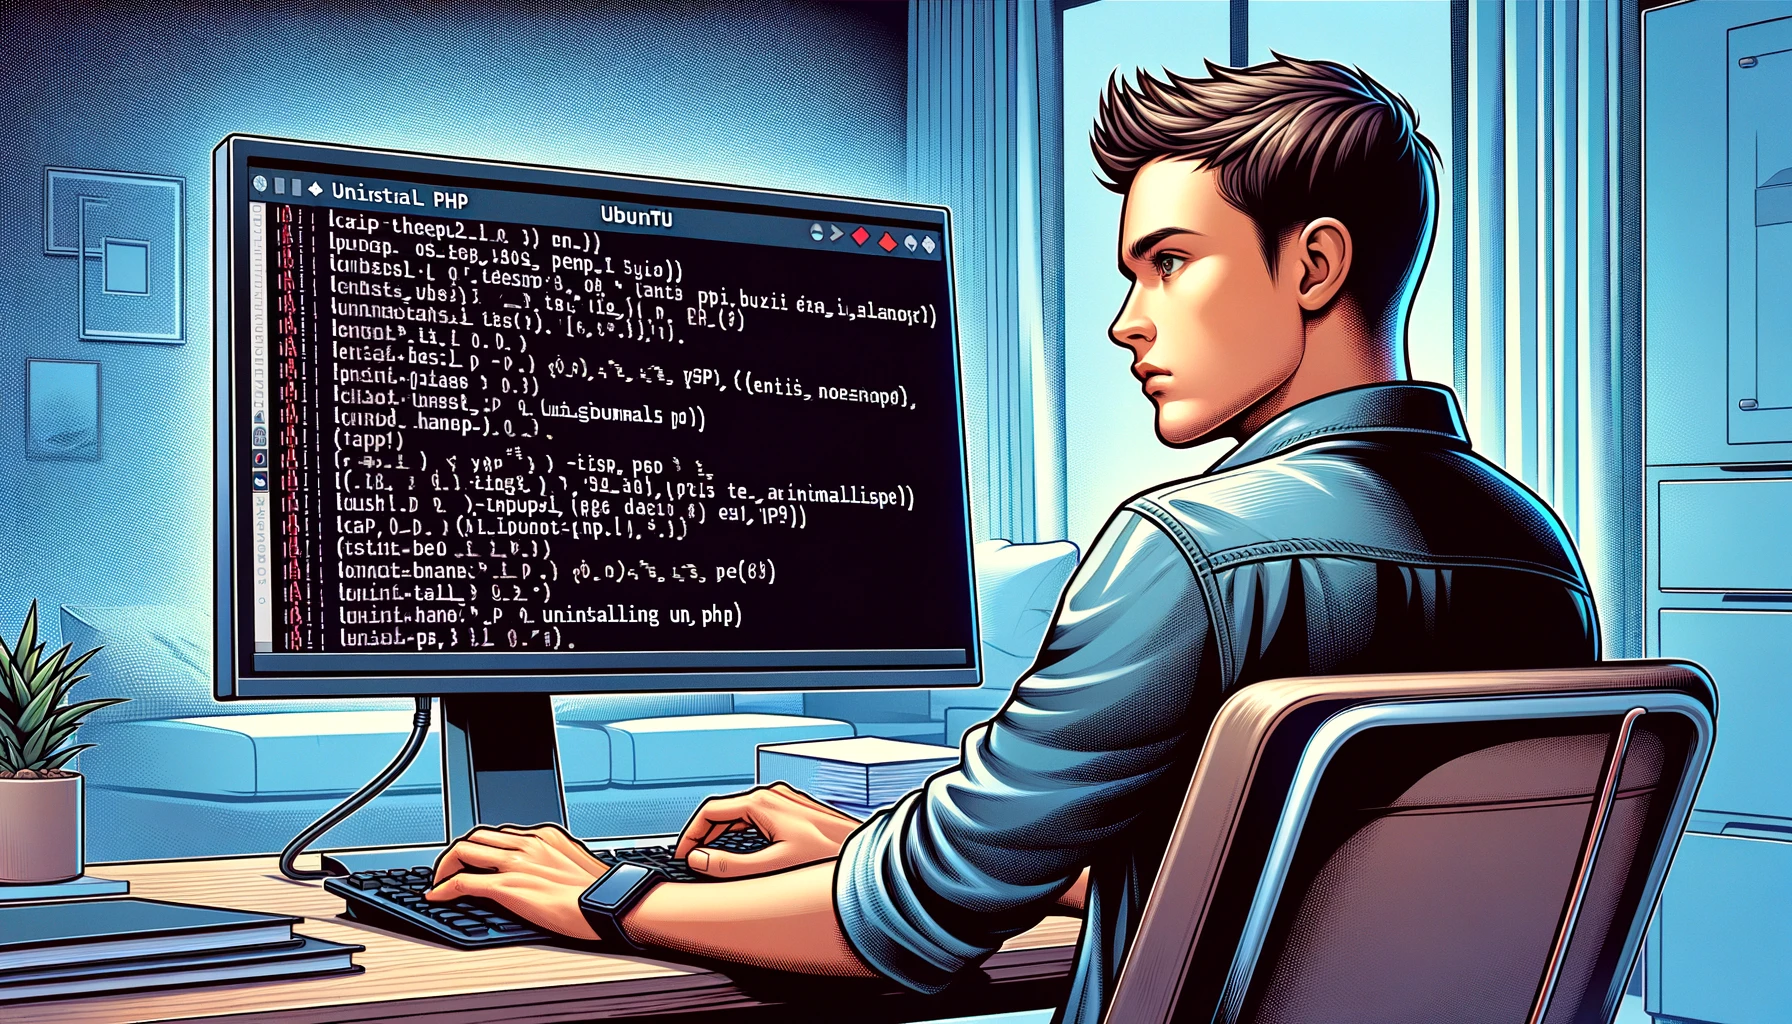
Ubuntu, a popular Linux distribution, is widely used for its reliability and robustness, especially in server environments. PHP, as a server-side scripting language, often finds its way into Ubuntu systems as part of the LAMP (Linux, Apache, MySQL, PHP) stack. However, there are instances where you might need to remove PHP from your Ubuntu system. This could be due to various reasons like upgrading to a different version, switching to a different programming language, or cleaning up the system. This comprehensive guide will walk you through the steps to effectively remove PHP from your Ubuntu system.
Understanding the Removal Process
Before proceeding with the removal of PHP, it’s important to understand what it entails. Uninstalling PHP means that any applications or websites relying on it will no longer function as intended. Ensure that you have a backup of your data or have alternative arrangements if you’re using PHP for critical applications.
Step-by-Step Guide to Remove PHP
-
Open the Terminal: Access your terminal by pressing
Ctrl + Alt + Tor searching for ‘Terminal’ in your Ubuntu dashboard. -
Check PHP Version: To know which PHP version is installed, type
php -v. This step is crucial to identify the correct packages for removal. -
List Installed PHP Packages: You can list all installed PHP packages with the command
dpkg -l | grep php. This command gives you a comprehensive list of all PHP-related packages that are currently installed on your system. -
Uninstall PHP: To remove PHP and its associated packages, use the command
sudo apt-get purge php*. This command removes PHP and all its modules. It’s a powerful command, so be sure to double-check before executing it. - Auto Remove and Clean Up: After removing PHP packages, it’s good practice to run
sudo apt-get autoremoveto remove any unused dependencies. Follow thissudo apt-get autocleanto clear out the local repository of retrieved package files. -
Verify Removal: Finally, to confirm that PHP has been removed, you can run
php -vit again. If PHP is successfully uninstalled, this command should return an error indicating that PHP is no longer installed.
Removing PHP from Ubuntu is a straightforward process if you follow the steps carefully. It’s important to understand the implications of removing PHP from your system, especially if you’re running applications dependent on it. Always ensure to back up your data before making significant changes to your system.
For those who are upgrading or changing their development environment, this guide ensures a clean removal process, setting up a clean slate for your next venture in server-side programming or system administration.
Read also: Efficiently Removing PHP from Ubuntu: A Step-by-Step Guide for Beginners
Removing PHP from an Ubuntu system involves using the command line to uninstall the PHP packages. Here’s a step-by-step guide to doing this:
Step 1: Open the Terminal
- You can open the terminal in Ubuntu by pressing
Ctrl + Alt + Tor by searching for ‘Terminal’ in the application launcher.
Step 2: Identify the Installed PHP Version
- Before removing PHP, it’s a good idea to check which version is currently installed. Type the following command:
bashCopy code
php -v - This command will display the PHP version installed on your system.
Step 3: Uninstall PHP
- To remove PHP, you need to know the exact package name. If you installed PHP with a specific version (like PHP 7.4), you should specify that version. Use the following command:
bashCopy code
sudo apt-get purge php7.4* - Replace
7.4with your PHP version number. If you’re not sure about the version, you can simply usephp*to remove all PHP-related packages:bashCopy codesudo apt-get purge php*
Step 4: Remove PHP Modules
- PHP often comes with additional modules. To completely remove PHP and its modules, use:
bashCopy code
sudo apt-get autoremove - This command removes any packages that were automatically installed to satisfy dependencies for PHP but are no longer needed.
Step 5: Verify Removal
- After uninstalling, you can verify that PHP is no longer on your system by typing:
bashCopy code
php -v - If PHP is successfully removed, this command should return a message indicating that PHP is not installed.
Step 6: Optional Steps
- If you have any specific configurations or applications depending on PHP, make sure to update or remove these configurations.
- Check for any cron jobs or scripts that might be relying on PHP.
Step 7: Update System
- After removing packages, it’s always a good idea to update the package list:
bashCopy code
sudo apt-get update
Additional Notes:
- Be cautious when removing packages. Make sure that the removal of PHP does not affect other applications or services on your system.
- Always back up important data before making significant changes to your system.
By following these steps, you should be able to successfully remove PHP from your Ubuntu system. Remember that command line operations can be powerful and potentially disruptive, so proceed with caution.
Read also: Efficiently Removing PHP from Ubuntu: A Step-by-Step Guide for Beginners