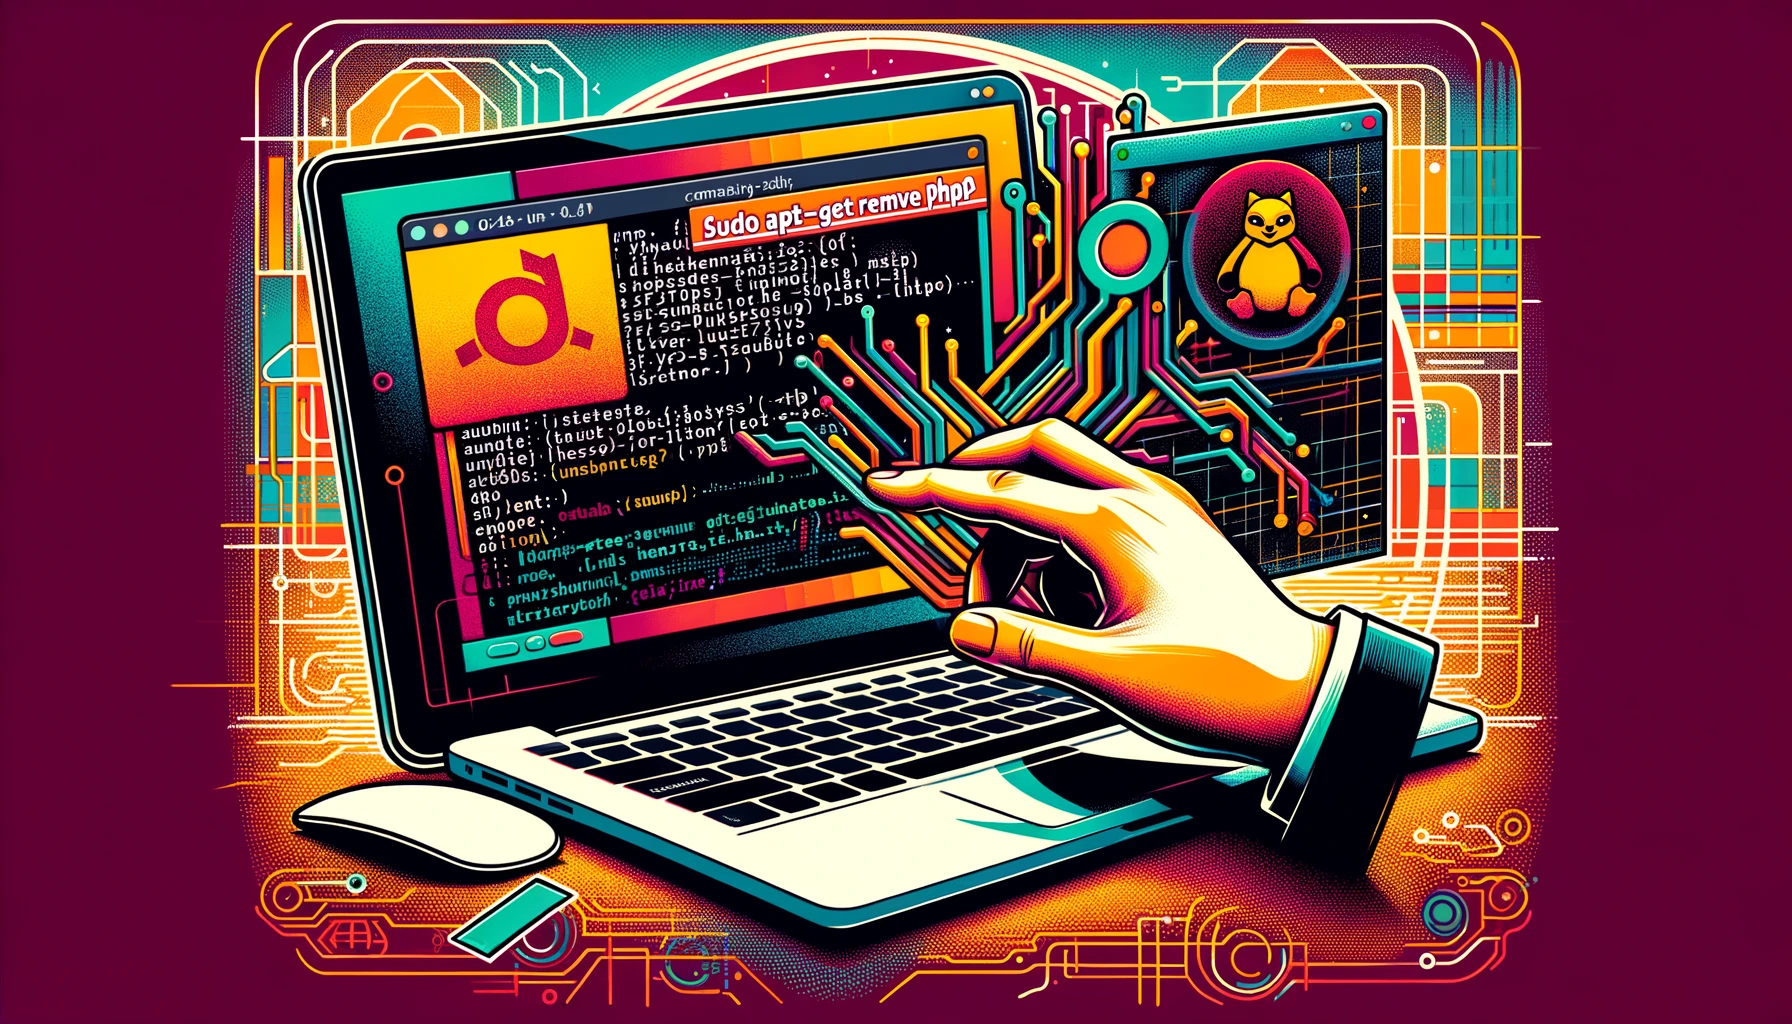
Introduction to Removing PHP in Ubuntu
Ubuntu, a popular Linux distribution, is widely used for its stability and ease of use. PHP, a server-side scripting language, is often installed on Ubuntu systems to support various web applications. However, there may come a time when you need to remove PHP from your Ubuntu system. This could be due to a variety of reasons such as upgrading to a new version, replacing it with another language, or for security purposes.
Understanding the Importance of Proper Uninstallation
Before diving into the removal process, it’s crucial to understand why properly uninstalling PHP is important. Incorrectly removing PHP can leave residual files and configurations on your system, which might cause conflicts or security vulnerabilities. It’s always recommended to follow a structured approach to ensure a clean and complete removal.
Step-by-Step Guide to Remove PHP
-
Backup Important Data: Before making any system changes, ensure you have backups of your important data, especially if PHP is being used in conjunction with a database or web application.
-
Identify the PHP Version: To remove PHP, you first need to know the version installed on your system. Open the terminal and type
php -v. This command will display the PHP version currently in use. -
Uninstall PHP: Use the
apt-getcommand to remove PHP from your system. The command will vary slightly depending on the installed PHP version. For instance, if you have PHP 7.4, you would usesudo apt-get purge php7.4*. This command removes PHP along with its modules. -
Clean Up Dependencies: After uninstalling PHP, some unused dependencies might still be present on your system. To remove these, execute
sudo apt-get autoremove. -
Verify the Removal: To ensure that PHP is completely removed, type
php -vagain in the terminal. If PHP is uninstalled, this command should return an error indicating that PHP is not found.
Post-Uninstallation Tips
Once PHP is removed, it’s advisable to do a system check to ensure that your Ubuntu system is running smoothly. You can also consider updating your system to keep it secure and efficient.
Removing PHP from Ubuntu is a straightforward process, but it requires careful execution to ensure that it is done correctly and safely. By following these steps, you can successfully uninstall PHP from your Ubuntu system without leaving behind any unwanted traces.
Preparing for Removal
Before proceeding with the uninstallation process, it’s crucial to ensure that removing PHP won’t disrupt any critical services or applications on your system. If you have applications relying on PHP, make sure to either stop them or migrate them to another environment.
Step-by-Step Guide to Remove PHP in Ubuntu
1. Update Package List
First, open a terminal and update your package list to make sure you have the latest information about installing packages:
2. Identify PHP Packages
Identify the PHP packages installed on your system. You can list all installed PHP packages using:
This command will display a list of all PHP-related packages currently installed on your system.
3. Remove PHP Packages
To remove PHP and its associated packages, use the apt-get remove command followed by the package names. You can remove multiple packages at once. For example:
4. Auto-remove and Clean
After removing the packages, it’s a good practice to run auto-remove to remove any unused dependencies and clean to clear out the local repository of retrieved package files:
5. Confirm PHP Removal
To confirm that PHP has been successfully removed from your system, you can try running:
If PHP is removed, this command should return an error like “Command ‘php’ not found.”
6. Optional: Remove Apache/Nginx if Necessary
If you installed Apache or Nginx specifically for PHP applications and no longer need them, you can also remove them using a similar apt-get remove commands.
Post-Removal Considerations
- Check for residual configuration files: Some packages may leave configuration files behind. You can find and manually delete these if necessary.
- Backup important data: Before removing any software, always ensure you have backups of important data.
- Monitor system performance: After removal, monitor your system for any unexpected behavior.
Removing PHP from an Ubuntu system is generally a simple process, but it’s essential to be cautious and understand the implications, especially if you’re working on a production server. Always back up important data before making significant changes to your system.